1. Please go to office.com (outlined in green) and select sign in (outlined in blue) as shown below.
2. Now please enter your email (example outlined in green) and select next (outlined in orange) as shown below.

3. Now please enter the same password used for your email (example outlined in green) as shown below.

4. Now roughly in the top center of you screen where it currently says search type one onedrive (outlined in green) than select OneDrive (outlined in orange) as shown below.

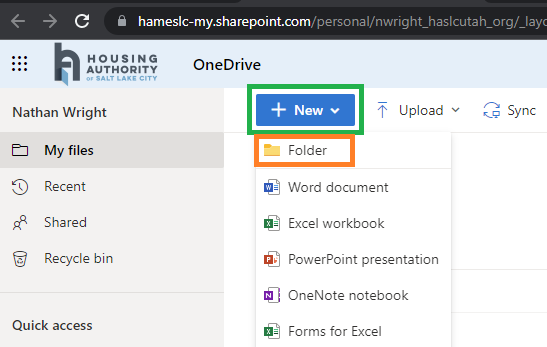
5. If you have the folder and/or files already uploaded in good old OneDrive please skip down to step 10. Now select + New (outlined in green) than select Folder (outlined in orange) as shown below.
6. Now type what you would like to name the folder that will contain all the files and or folders for the user you are sharing with (example outlined in green) and click next (outlined in orange) as shown below

7. Now double click on the folder we just created (example outlined in green) as shown below

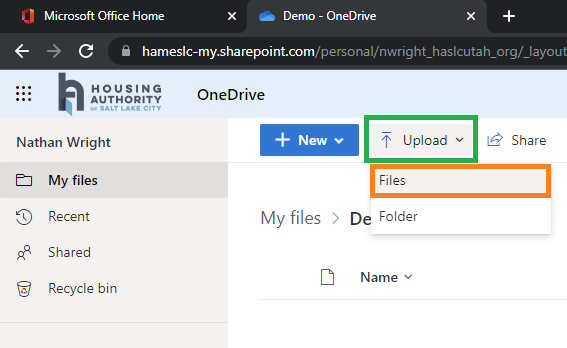
8. Now that you are in the folder we are going to share please select upload (outlined in green) after that select files (outlined in orange) as shown below
9. Now you can go to your folder with your needed files and click and drag, hold ctrl or hold shift to help select them (outlined in green) once you have all needed selected click open (outlined in orange) as shown below

10. Now go back a page with your browser and right click on the folder you have created (example outlined in green) than click share (outlined in orange) as shown below

11. Now enter the emails of the users you want to share these files with and hit the enter key each time you have a new email ready to add (area outlined in green). For every user you add they will show in area outlined orange below. If you click the down arrow just above the blue box below you are able to give them view or edit rights. If this is all you need just select send that will be behind the edit view options once selected and done. For further share options select Anyone with the link can view (outlined in purple) down below and follow additional steps.

Optional settings below
12. Here are additional options and I will explain them from top to bottom the picture below is additional options when sending a link such a password, expiration of share and block user from being able to download the shared file(outlined in green below). After that just click apply after which you can send.

13. The option outlined in green below is an extra layer of security so it can only been seen by users in our company. Along with outlined in orange additional options where you can give the view or edit access on top and block them from downloading a file on the bottom. After that just click apply after which you can send.

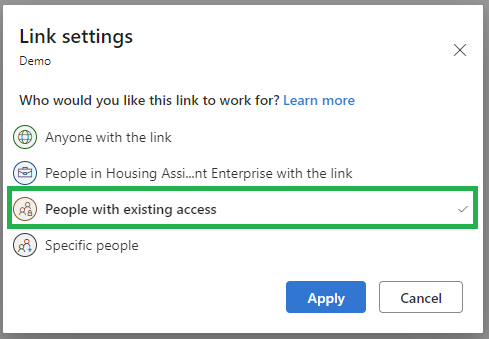
14. To the best of my knowledge the option outlined in green below is if you already have users with access and want to send them the link again (often used so updates are brought to there attention and they do not need to through emails to find the link for files again and I am sure there are other reasons)
15. For specific people outlined in green below you can add the users email outlined in orange below and once you hit enter, they will show like demo@demo.com below between the green and orange box. After that in blue box area below you can give them edit or view access above or block them from downloading the file below this only works with can view access not can edit access.

Was this article helpful?
That’s Great!
Thank you for your feedback
Sorry! We couldn't be helpful
Thank you for your feedback
Feedback sent
We appreciate your effort and will try to fix the article